Have you ever found yourself standing in front of your gas grill, tongs in one hand and a hopeful heart in the other, wondering if you could replicate that smoky, tender barbecue you’ve tasted at your favorite joint? We’ve all been there—curious yet slightly intimidated by the prospect of smoking meat on a gas grill. But fear not; we’re here to demystify the process and equip you with everything you need to know to become a backyard BBQ hero.
Why Smoke Meat on a Gas Grill?
Let’s start with the big question—why bother smoking meat on a gas grill when you could head to a BBQ restaurant instead? Well, it’s a journey that promises both delicious rewards and newfound grilling confidence. Smoking meat is about more than just the flavor; it’s an experience, a ritual that invites patience and creativity into our kitchens. Plus, for those of us without a dedicated smoker but a trusty gas grill sitting on our patio, this method offers a practical solution without the need for extra equipment.
Understanding the Basics: What is Smoking?
Before firing up the grill, we should understand what smoking actually entails. Smoking is a cooking technique where meat is cooked low and slow using indirect heat and, more importantly, flavored smoke. This method not only imbues the meat with deep, rich flavors but also helps tenderize tough cuts over time. Mastering this art can transform humble ingredients into extraordinary dishes. Imagine the satisfaction of serving up a rack of ribs or a brisket that boasts that signature kiss of smoke!
The Science Behind Smoking
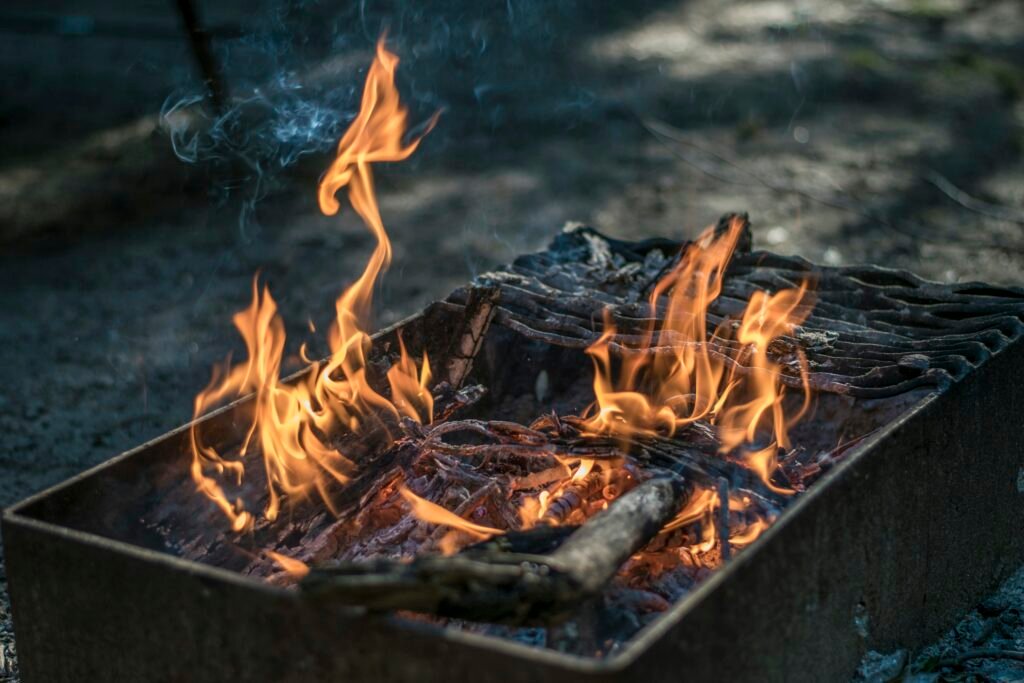
It’s fascinating how a simple process can create such complex flavors, isn’t it? At its core, smoking involves a delicate dance between heat, time, and the magical properties of wood smoke. As the wood chips ignite, they release flavorful compounds that penetrate the meat, creating that coveted smoky aroma and taste. It’s kind of like magic but with science—and a bit of patience.

This image is property of images.unsplash.com.
The Equipment: Grills, Chips, and Tools
Now that we have a sense of what smoking is, let’s talk tools. Using a gas grill doesn’t mean we are limited; we just have to be creative and resourceful.
The Grill
A standard two- or three-burner gas grill will do the trick. We need one that allows for both direct and indirect cooking. Essentially, one burner will be our heat source, while the other space keeps our meat away from direct flames to allow for low and slow cooking.
Wood Chips
Ah, the soul of any good smoke—the wood. Mesquite, hickory, apple, cherry—each type of wood chip brings its own unique flavor profile, and the choice really depends on what we’re cooking and our personal taste preferences.
| Wood Type | Flavor Profile | Best For |
|---|---|---|
| Mesquite | Strong and earthy | Beef, particularly brisket |
| Hickory | Sweet, bacon-like aroma | Pork and ribs |
| Apple | Mild, fruity | Poultry and pork |
| Cherry | Sweet and subtle | Lamb and beef |
Other Tools
A smoker box or a makeshift pouch made of aluminum foil to hold our wood chips is essential. Additionally, an instant-read meat thermometer will ensure everything is cooked to perfection, as precision is key. You’ll also want a basting brush and some heat-resistant gloves because safety first!
Preparing Your Gas Grill for Smoking
Alright, now that we’ve gathered our tools, let’s get this smoke show started! Preparing our gas grill properly is the foundational step to successful smoking.
Seasoning Your Grill
Before the maiden smoking voyage, it’s a good idea to season our grill. This involves lightly oiling the grates and running the grill on high heat for about 15 minutes. This process helps remove any manufacturing residue and strengthens the grill’s nonstick capabilities.
Setting Up for Indirect Heat
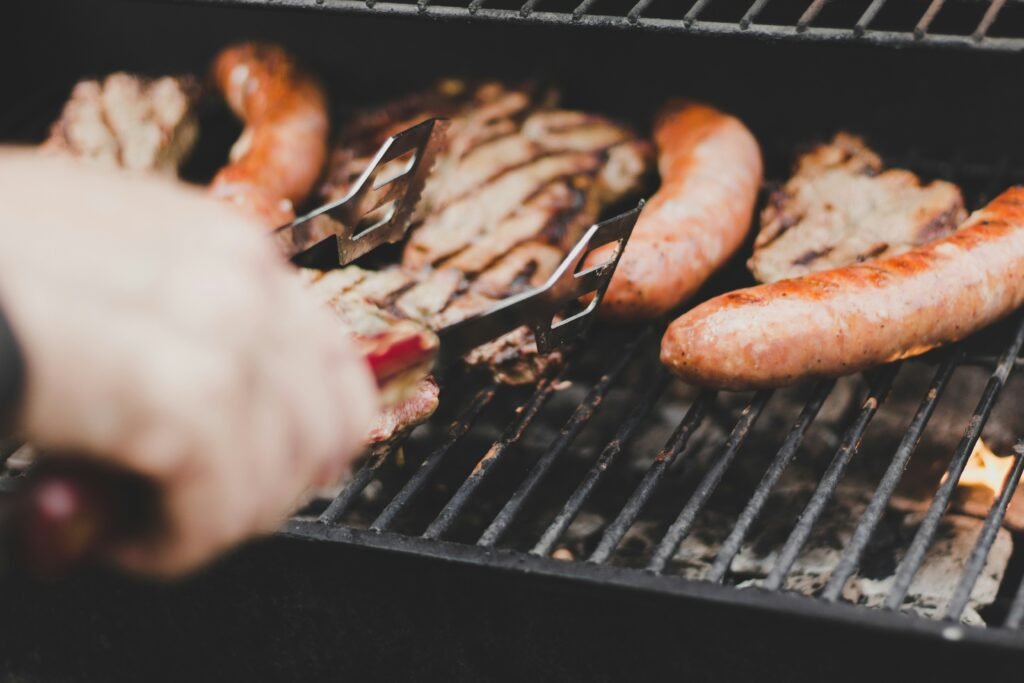
To set up for indirect grilling, preheat one side of our gas grill (the hot side) while keeping the other side cool. This allows the smoke and heat to circulate around the meat, effectively creating the smoky environment we’re aiming for. It’s like using an oven, but it leaves that unmistakable smoky imprint you just can’t fabricate indoors.

This image is property of images.unsplash.com.
Choosing Meat to Smoke
The choice of meat is crucial and, thankfully, boundless. The key is picking cuts that benefit from long cooking times since the slow smoke gradually breaks down connective tissues, leading to that tender, melt-in-your-mouth texture.
Beef
For beef lovers, brisket is the crown jewel of smoked meats, though it requires some patience. If you’re looking for something more forgiving, try smoking some beef short ribs. They absorb smoke beautifully and handle our impatience a bit better.
Pork
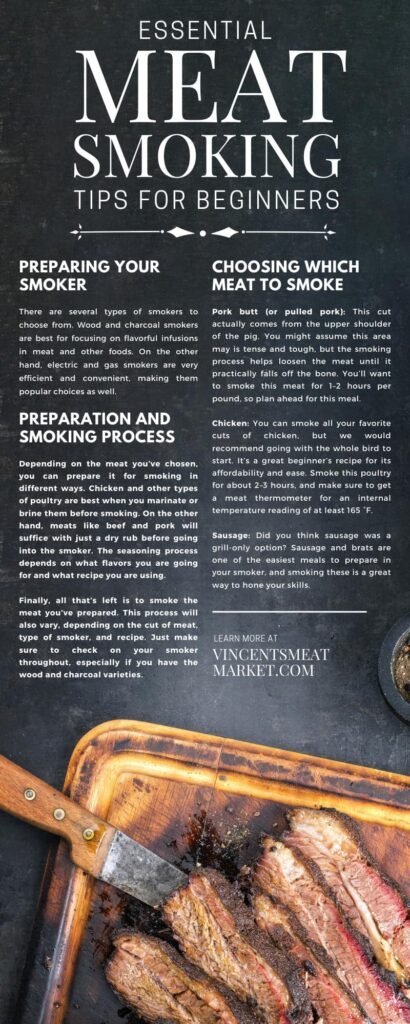
Pulled pork from a pork shoulder is a quintessential BBQ dish. For beginners, pork ribs—whether baby back or spare—are a great starting point. They cook more quickly than a full shoulder and are incredibly satisfying.
Poultry
Chicken takes well to smoke and is excellent when experimenting with different wood flavors like apple or cherry. A whole smoked chicken is a sight to behold, plus it’s on the table faster than large cuts of beef or pork.
Preparing the Meat
Marinades, rubs, and brines are our secret weapons in augmenting depth and flavor in smoked meats. Think of them as the supporting actors that bring out the best from the main star.
Dry Rubs
A good dry rub can elevate smoked meats from the ordinary to the extraordinary. Typically a blend of salt, spices, and herbs, it creates a delicious crust on the outside of the meat. Balance is key; too much salt or sugar can overpower, so here’s a general guideline:
| Ingredient | Proportion |
|---|---|
| Salt | 40% |
| Sugar (brown or white) | 25% |
| Spices (paprika, garlic powder, etc.) | 30% |
| Herbs (thyme, rosemary, etc.) | 5% |
Marinades and Brines
Both methods introduce moisture and flavor to the meat. Marinades usually contain an acidic component like vinegar or citrus, while brines are saltwater solutions. Whichever you choose, ensure the meat soaks for several hours to truly absorb the flavors.

This image is property of images.unsplash.com.
Smoking Process
Here’s where our patience is truly tested. But rest assured, the results are well worth the wait.
Soaking the Wood Chips
Let’s start by soaking our choice of wood chips in water for at least 30 minutes. This ensures they smolder instead of igniting into flames, which is a situation best avoided unless you fancy a charred exterior.
Heating the Grill
Preheat the grill by starting the burner on the hot side, setting it to medium-low. Place the smoker box or pouch filled with soaked wood chips over the lit burner. Close the lid and wait for the chips to start smoking—this usually takes 10 to 15 minutes. During this process, you’ll be filled with anticipation as the aroma of the wood hints at the feast to come.
Time to Smoke
With the grill ready, place the meat on the cool side, away from direct heat. Close the lid and let the magic happen. Whether you’re a fiddler or a set-and-forget kind of cook, check the grill occasionally to ensure a steady temperature (around 225°F to 250°F). Adding more wood chips as needed ensures a consistent smoky flavor.
Keeping an Eye on the Temperature
Using our trusty instant-read thermometer is crucial here. Each type of meat has a different finished temperature, which guarantees food safety and tenderness.
| Meat Type | Internal Temperature (°F) | Notes |
|---|---|---|
| Brisket | 195°F – 205°F | Tender but sliceable |
| Pork Shoulder | 195°F – 205°F | Perfect for pulling apart |
| Chicken | 165°F | Juicy and safe to eat |
The Resting Period
After spending hours nurturing our masterpiece, it’s tempting to dive right in. But, waiting a bit longer is key to achieving sublime tenderness. Resting the meat for about 20-30 minutes allows the juices to redistribute, ensuring each bite is as flavorful as our efforts deserve.
Adding the Finishing Touches
If we’re feeling fancy, basting the meat with a favorite BBQ sauce or glaze during the last 30 minutes of smoking adds an extra layer of flavor. Think sticky, smoky goodness that leaves everyone licking their fingers clean.
Troubleshooting Common Issues
Even seasoned pros encounter hiccups. Let’s cover a few common problems and how we can address them so they don’t throw a wrench in our BBQ plans.
Meat is Too Dry
One common issue is dry meat—a heartbreaking outcome after hours of hard work. To combat this, ensure our cuts aren’t too lean. Adding a water pan inside the grill can also help maintain humidity. Plus, don’t skimp on the resting period; it really does work wonders.
Not Enough Smoke Flavor
If our meat lacks that signature smokiness, try using a stronger wood like hickory or mixing different woods for a unique touch. Increasing the amount of wood chips and ensuring they stay smoldering throughout also helps lock in that smoky essence.
Embracing the Adventure
And there we have it, our flavorful foray into smoking meat on a gas grill. It’s a journey that invites experimentation, tests our patience, and rewards us with culinary bragging rights. From the choice of meat to the subtle synergy of wood and spice, every step is an opportunity to create something wonderful. So, let’s fire up the grill, embrace the adventure, and savor the delicious results of our labor.


